Showing posts with label mehron. Show all posts

Monday, 6 October 2014

Starter Special Effects Kit!

Hey guys I thought I'd share something a little different with you today. I feel it's really important whether it's just a hobby or a career you want to go in to later in life to have a great basis of products in your starter SFX kit. Although not all of these are completely essential I believe all of them will be beneficial to you in there own way. Enjoy guys.


Liquid Latex: This is a must have in your starter kit, although its not as life like as some products it's brilliant for creating skin peel effects and can be built up using tissue in between layers of the latex to create a structure. Just be careful that someone isn't allergic to latex before you use this on them.

Mehron Synwax: Waxes are a great step up from latex and while not all that durable as they can be damaged by touch, they do allow you to quickly make raised effects that can be easily coloured and sealed. 

Silicons based modelling materials: Here I have sculpt gel from mouldlife. These are brilliant at creating a long lasting flexible structure and definitely a must have if you want a step up from latex and waxes. They usually come in two parts that are mixed together and then applied directly to the skin and then moulded from there before it cures. Some silicons, like sculpt gel, come with a third part which acts a deadener to soften the silicon mixture to give it more flexibility and you more working time with the silicon.


PPI's Skin Illustrator FX Palette: This is a palette of alcohol activated paints, although they are not completely neccesssary they are brilliant at creating long lasting colour compared to cream make up that can wear off easily. Just a warning they are also very expensive and not great for use around the eyes!

99.9% Alcohol: This alcohol is used to activate alcohol activate colours and can be used to clean small areas of skin before applying as adhesive.

PPI's Telesis Super Solv Plus: This acts a remover for adhesives and alcohol activated colours, it is very quick at removing everything and the 'Plus' version is more gentle on your skin.

Ben Nye Cream Colour Wheel: These colour wheels are brilliant for beginners as they're not too expensive and they provide you with a large amount of colours to create many different looks with. Although not as durable as alcohol activated paints, they are still brilliant for creating effects. (Master bruise wheel and Death wheel by Ben Nye photographed.)


Spirit gum and spirit gum remover: Although this isn't a serious contender when it comes to adhesives this is brilliant for beginners and it means you can adhere waxes much better to the skin. Try to aim for a matte version as this has less shine.


Bloodymarvellous Fake Blood: There are many different types of blood out there but I believe when starting off a light and dark blood are essential for you kit due to the different dimensions you can create with them. I would also suggest buying small versions in the beginning in case you don't like the texture or colour of the blood. Also try to make sure the blood can be used around and in the mouth for extra safety.


Variety of make up sponges: Pictured here are regular triangle sponges, a fake sea sponge and some stipple sponges. These are all great at creating different effects and breaking up colours so they're not so flat.


Fake Eyelashes: Although not essential they're great for finishing looks, just like contact lenses, and come in many different styles.

Metal palette: These are great for mixing different colours on and also for mixing each part of a silicon modelling material together.


Face/Eyeshadow brushes: These are great for when creating a whole looks rather than just a small cut and allow you to get detailed eyeshadow work.

Paint and SFX brushes: Theses are brillliant to use with alcohol activated and cream paints and also when using latex, waxes and silicons, as these brushed can be brought very cheaply so it doesn't matter if they get ruin by the latex, and silicons that will dry into them.

Spatulas: I forgot to photograph them sorry! BUT spatulas are esstential when working with wax and silicon as they allow you to easily blend out the edges of these materials into your own skin seamlessly.

I hope you enjoyed reading about what I think is important for you starter SFX guys and that its also helped you  to decide what products would be important for you to use in your starter SFX kit! Thanks again for reading another one of my blog posts!
Becky ox.

Cracked China Doll!

Hey guys, I wanted to create something a little different this time, edging away from the gore and focusing on a character makeup this time. So I hope you like the creation of this cracked china doll, its super easy to recreate and perfect for Halloween if you don't want to be faffing around with fake bloods and waxes all night. Enjoy!
   
The Finished Look!


What You'll Need:

Illasmasqua Rich liquid foundation in 115, Naked Basics Palette, Smashbox primer,
Natural collection translucent powder, Illamasqua blush, Real techniques make up sponge
and disposable mascara wands.

Variety of face, eyes and paint brushes, Eylure Eyelash adhesive, a red lipstick
Mascara, and a red/brown lipgloss.

Eylure individual lashes and Ardell demi wispies.

Mehron Paradise Paint in Black and White.


Step One:

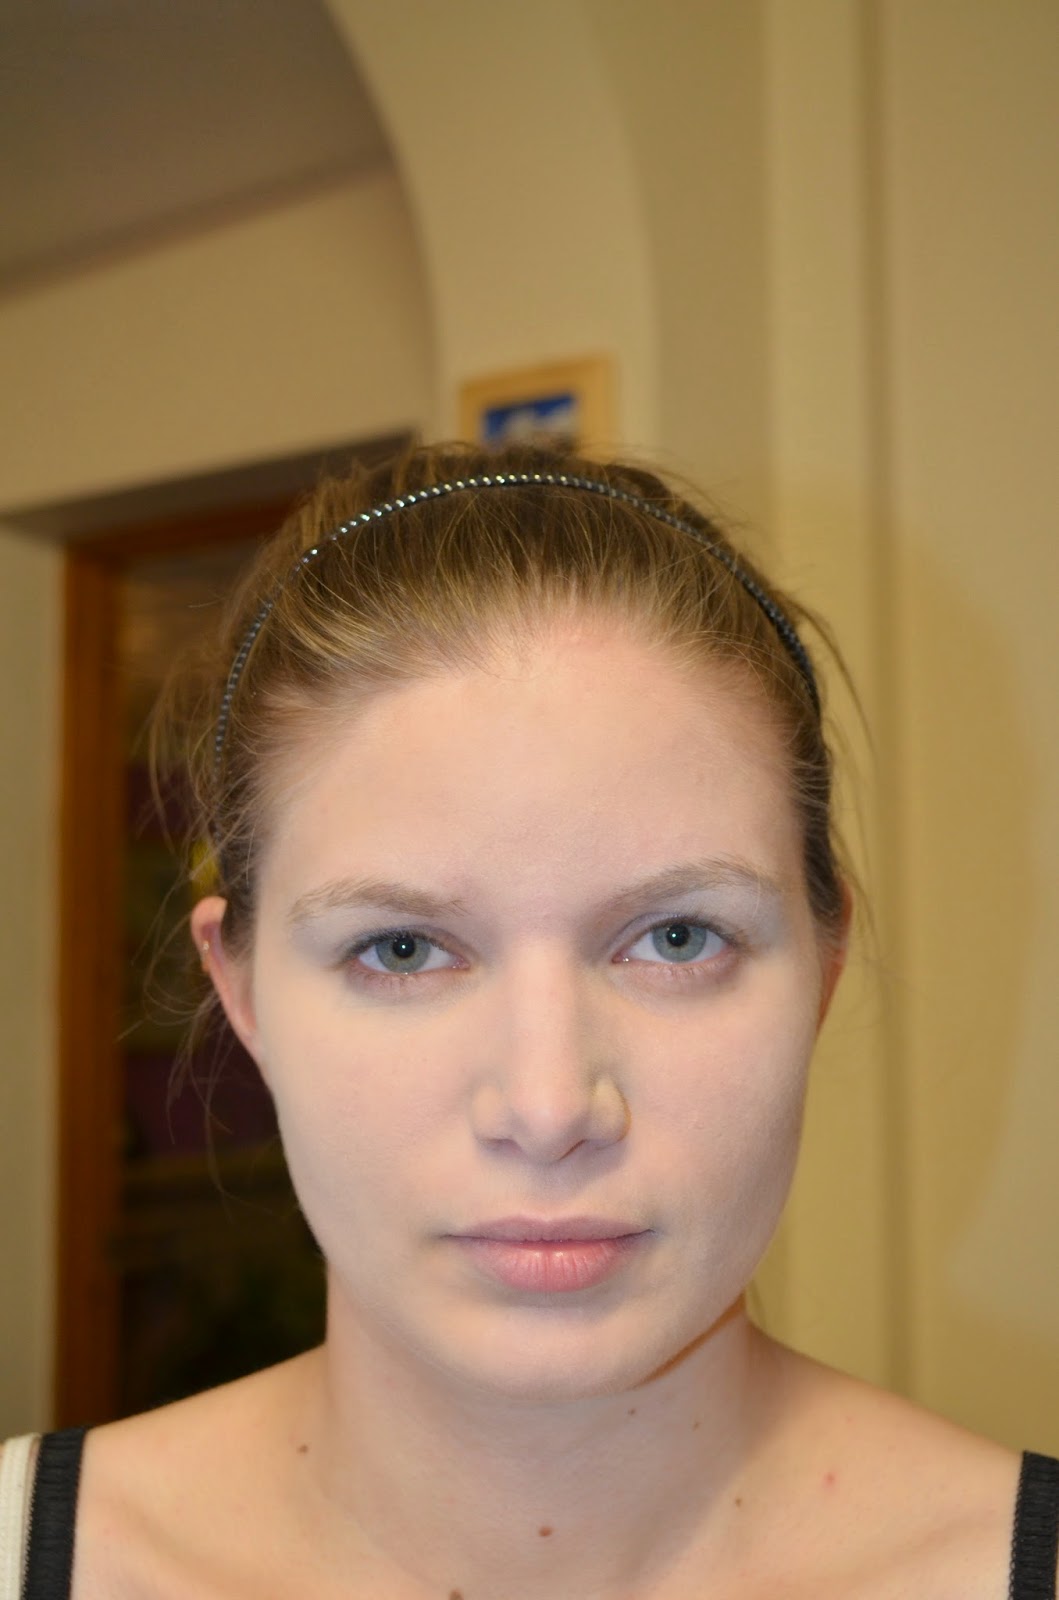
First making sure your face or your models is well moisturised, apply a matte primer to the skin to help make the makeup last, go on more smoothly and also to keep the face matte like a dolls would be. Next take a very light coloured foundation, I used Illmasquas rich liquid foundation in 115, a apply this using a damp sponge as this will create a heavier coverage than suing a brush. Apply as many layers as you need and conceal any areas where needed with the foundation. Then powder over this with a transient powder to keep the make up in place and further mattify the skin.


Step Two:

Next using W.O.S from the Urban Decay Naked Basics palette, apply this over the entire eyelid and up to the brow. Next take Naked Two from the palette and apply this lightly in the crease, just to add a small amount of definition.


Then apply a black liner either using a liquid, gel or eyeshadow for a liner. I would suggest using a gel liner as this will dry matte and unlike the eyeshadow version of eyeliner it wont smudge into the crease. Lightly line the eyes with your chosen liner, making sure there is no flick or cat eye effect.


Then take an eyebrow comb and run it through the brows to make sure they're all facing the same way. Now if you have thick dark brows, you could cover your brows to help the doll brows look more effective. There are many videos on Youtube showing you how to do this. Then next wet a small amount of Mehrons paradise paint in black, making sure the mixture isn't too wet but opaque. Then using your thin liner brush, dip this into the paint black and draw a thin line following the natural shape of your brows, or to create a more dramatic effect you can arch the brows higher up. Make sure the start and ends of the brows come to a sharp thin point.


Step Three:

Then using a thin lip brush and a coral coloured red lipstick of your choice, start to line the lips making sure to exaggerate the cupids bow by making it more rounded, making sure to fill in the sides of the lips. Also make the bottom lip more rounded and don't fill in the edges of the bottom lip to create an overall effect that the lips are smaller. 


Step Four:

Next I apply a pink blush from Illamasqua, although the camera washed out the colour of it a lot, but when applying the blush apply it from the apples sweeping it upwards. Then apply fake eyelashes to top and bottom, making sure they are very wispy. Then once all the glue has dried for the fake eyelashes using a white eyeliner to waterline your eyes.


Step Five:

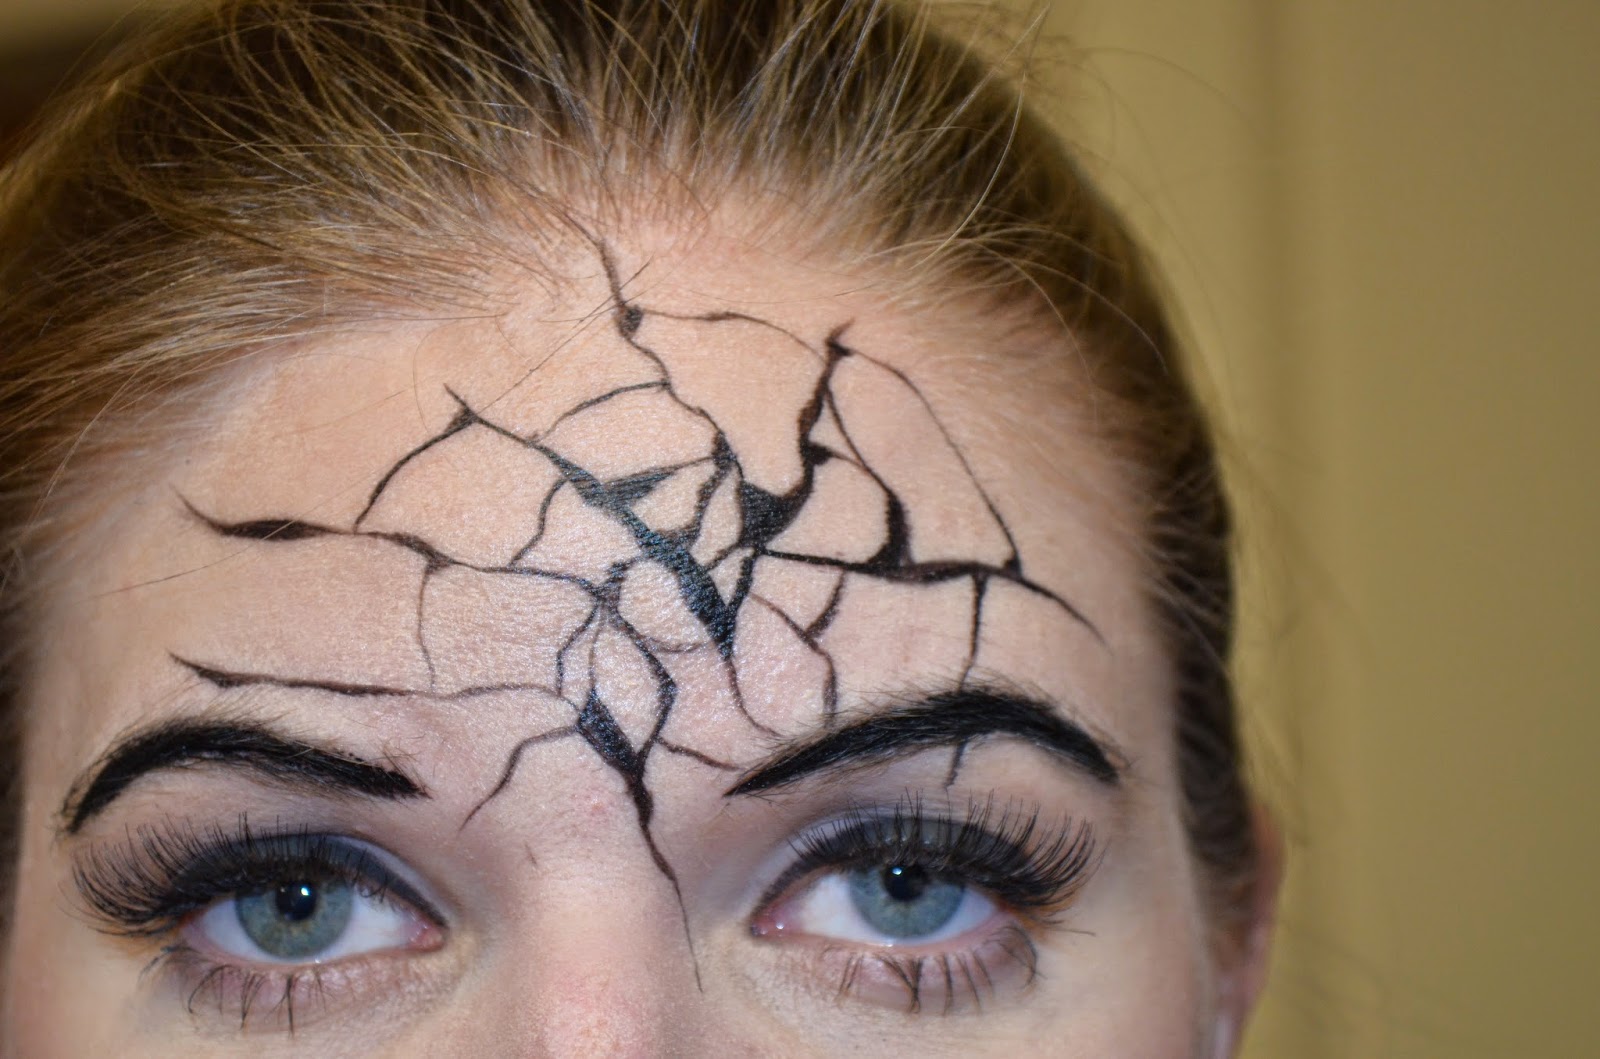
Now's time for the fun part! Using the same black paradise paint from earlier, use a very thin eyeliner brush and start creating larger black shatter marks to create the central piece of the crack. Then extend very thin lines out from these cracks.


Next start to create thin lines connecting the off coming cracks from the central larger crack marks. This will create a circular effect to the cracks. Then fill in small piece of the cracks making some parts of the crack thicker than others, and also connecting lines with small triangles in different corners.


Do a similar effect on the mouth and then leave the paint to fully dry.


Next apply highlights to the cracks, by using the Mehron paradise paint in white. Only apply the highlights to certain cracks, not everyone. Use the same liner brush you did for the black paint, just make sure you've washed it thoroughly with water and paint a thin line of the white next to the black cracks making sure its not very opaque but that there's enough colour there that you can see it.


Step Six:

Next use a large paint brush and wet the white paradise paint so you get an opaque colour.Then start to connect lines down from the shoulders to the chest, rounding the area near the chest to create the shape of a collar.


 Do this on both sides and then suing a thin paint brush outline the white paint with the black paradise paint. Then using the same thin paint brush start to create small loops on the top black line.


Next take the eyeshadows Naked 2 and Faint from the Urban Decay Naked Basics palette and apply these onto the dry white paint, using the faint in the outer corners and Naked 2 more central to help create dimension in the collar and also to age the colour of the white. Next use the Naked 2 colour to shade around the loops to give them a shadow and help create a more realistic effect. Then taking another thin paint brush mix a small amount of the white and black paradise paints to create a grey, and use this to shade they black areas of the body paint. Then use the white on its own to further highlight the black and also the loops.


Step Seven: 

All of this can easily be removed with an ordinary makeup remover and water, just remember to remove your fake eyelashes by carefully peeling them off.

Thanks again guys for looking at another one of my blog posts, as always I hope you enjoyed seeing how the look was created and have fun recreating it yourself.
Becky ox.